MAINTAINING YOUR HAUTELOCKS

Clean hair is happy hair!!

Did you know that unclean hair, with oil and product buildup, can cause hair to tangle and shed? In addition, the hair will be lifeless and weighed down, and curls won’t be as bouncy and fluffy as we’d like. Stiff hair where? Not here! Protect your investment and help extend its longevity, and improve its performance by following these steps.

1 - Detangle

Detangle your extensions, using a paddle brush. Start brushing from the ends up. This step is crucial, because we don’t want to saturate the hair with water before detangling, as it can cause matting during the wash process.

2 - Saturate and shampoo

Fully saturate your extensions with hot water. Hot water helps open up the hair cuticle, and get it ready to receive the conditioner. Shampoo your extensions using a deep cleansing shampoo. We use Biosilk Hydrating Therapy or any deep cleansing shampoo. Rinse until the water runs clear. You will repeat the shampoo process depending on the level of build up on the hair. Don’t be lazy girl! If you slack on this step, you will not achieve the cleanliness that we want. It will be clean, but it won’t be clean-clean! Rinse well. When the hair is the right level of clean, you will be able to rub your hands against the hair, and feel and hear a squeak. The goal is squeaky clean.

3 - Condition

Condition your extensions. We use Silicon Mix hair treatment on all the extensions we sell. Use a small dollop of conditioner and apply it to the ends of the hair first, and work the rest up the extensions. Simma down on this step, you don’t have to use the whole bottle! A little goes a long way, and using too much will make rinsing a little more difficult. You can let the conditioner soak in for at least 5-10 minutes. If you’re in a hurry, you can deep condition the extensions quickly by placing them in a ziplock bag, and placing them in the microwave for one minute. This allows the conditioner to heat up and penetrate the hair shaft quickly. More is not more, for this step. We aren't cooking a hot pocket, we’re heating it up just enough to get the job done.

4 - Rinse, rinse, and rinse!

Rinse, rinse, and rinse some more. Remember how we heard that squeak when we were shampooing? We want to hear that squeak again. This is the most important step, and if you don’t get it right, it will defeat the purpose of washing your extensions in the first place. Resist the urge to stop before you hear the squeak. I know it’s tough, but you’ve got this! Once that hair is rinsed properly, you’ve almost achieved crispy clean hair.

5 - ACV Bath

Ok, so we’ve heard the squeak so we know our hair is clean, but in order to truly make sure we’ve gotten all the conditioner off, we are going to make a apple cider vinegar and water solution. You’ll fill up a bowl with cold water. Pour a little ACV until the ancestors tell you to stop. Just kidding, don’t do that. Pour just enough to add a little color to the water. The cold ACV mixture removes any additional conditioner off the hair, and seals the cuticles, locking in all that moisture goodness we just gave it. Sealing the cuticles makes the hair shiny and healthy looking. Take a clean brush, and do a dip and lift motion while running the brush through the hair. Do this a few times. You can stop here if you like, and the hair will dry, free of the vinegar smell. If you don’t trust us, go ahead and rinse with water after this step.
6 - Pop your curls

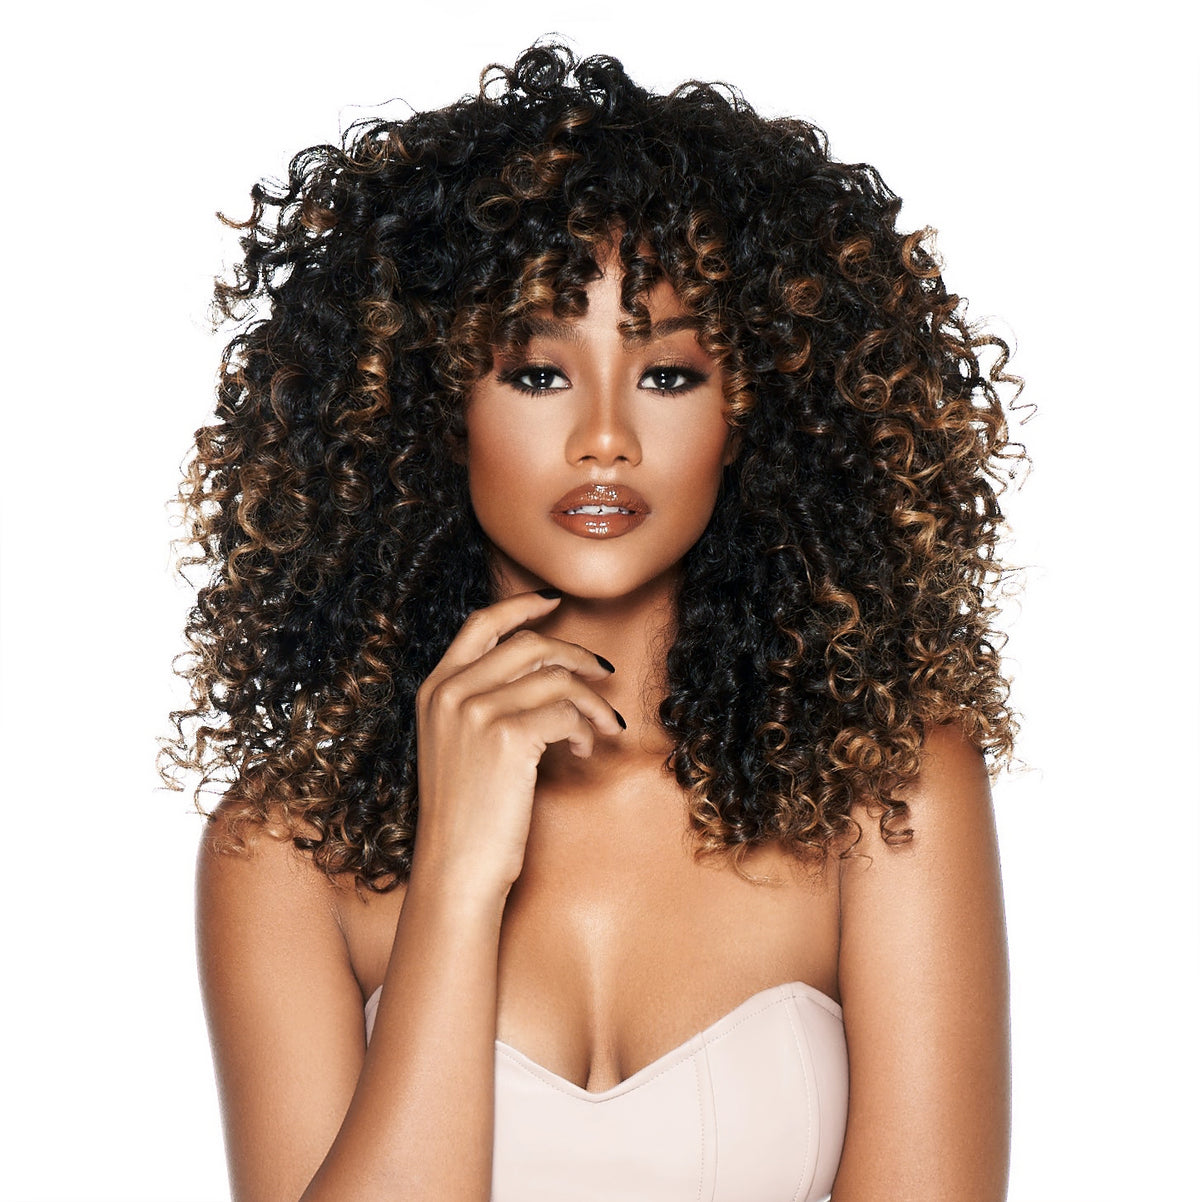
If you are washing curly hair extensions this is the step where you will pop and plop your curls with a curl defining brush. Secure your extensions on a mannequin head and stand, or hang it on a hanger. Please refer to the video for reference. Remember it’s all in the flick of the wrist! If you aren’t washing curls, go ahead and skip this step.

7 - Dry

You’ve worked hard, pat yourself on the back. We prefer a good hanging air dry, but if you must get out the door quickly, or are styling curly hair for volume, you can use a diffuser to dry your extensions. Well done my friend, if you followed these steps, your hair should look just like it looked when it was shipped to you.

Make your locks LAST!

Helpful tips to extend the longevity of your extensions and help it perform at the best of its ability.

Seal the Wefts

Seal your wefts upon receiving your extensions. Use Fray Check or another fabric sealer, and drop it along the track. This will help fortify and create and even stronger, shed free weft. Let it cure and air dry completely before allowing water to come in contact with it.

Trim Your Ends

Trim your split ends. Hair extensions aren't magical. They come from donors with split ends, and if you don’t address this issue, it may create unnecessary tangling, and shedding due to snagging during detangling. Our company does not use chemicals to eliminate split ends like other companies do. We prefer to keep the cuticles full, and trust that you and your stylist will take the proper steps to mitigate any split end issues. If you are worried about losing length, it is best to order a couple inches longer in length for trimming purposes.

Stay Fresh and Clean

Clean your hair! Please refer to our step by step washing guide.

Keep It Cool

Use a heat protectant. Yes, hair extensions can get heat damaged, causing split ends, so take the proper precautions to protect your investment.

Trust the Pros

Make sure you are entrusting your chemical coloring processes with a licensed stylist who you can trust. If you want to gamble, practice on Aliexpress or Amazon hair, don’t risk your Hautelocks investment sis trying to be a hero!